
2023-03-30 · 10 min read · 개발
Gatsby - 검색엔진 최적화(SEO)하기
SEO 컴포넌트 구성하기
Gastby에서는 SEO 컴포넌트를 통해 검색엔진이 컨텐츠를 이해하는데 도와줄 metadata를 생성할 수 있습니다.
생성된 metadata 만들어질 정적 HTML 페이지에 추가됩니다.
관련 태그들로 title, description, keywords, author, og 등이 존재합니다.
그래서 SEO 컴포넌트에 해당 태그들을 추가해줍니다.
<title>{title}</title><meta name="description" content="{description}" /><meta name="keywords" content="development" /><meta name="author" content="jgjgill" /><meta property="og:type" content="website" /><meta property="og:url" content="{siteUrl}" /><meta property="og:title" content="{title}" /><meta property="og:description" content="{description}" /><meta property="og:site_name" content="jgjgill-blog" /><meta property="og:locale" content="ko_KR" />og:image 관련 작업
og:image의 경우 상대경로로 설정할 시 서비스에 따라 인식하지 못하는 경우가 있다고 합니다.
이에 도메인을 포함한 절대 경로로 이미지를 불러올 필요가 있습니다.
이를 위해 깃허브를 이미지 저장소로 활용할 수 있습니다.
"https://raw.githubusercontent.com/[github_id]/[repository]/[branch]/[file_path]"위의 경로를 참고했을 때 저의 상황에서는 다음과 같은 경로로 사용할 수 있습니다.
![]()
https://raw.githubusercontent.com/jgjgill/blog/main/src/images/og-icon.png가 해당 경로가 되겠네요.
만들어진 og:image가 잘 적용되었는지 테스트할 필요가 있습니다.
이를 위해 크롬 확장 프로그램으로 Localhost Open Graph Checker을 사용했습니다.
해당 프로그램을 설치하고 테스트할 페이지에 프로그램을 실행하면 호스팅된 페이지가 생성됩니다.
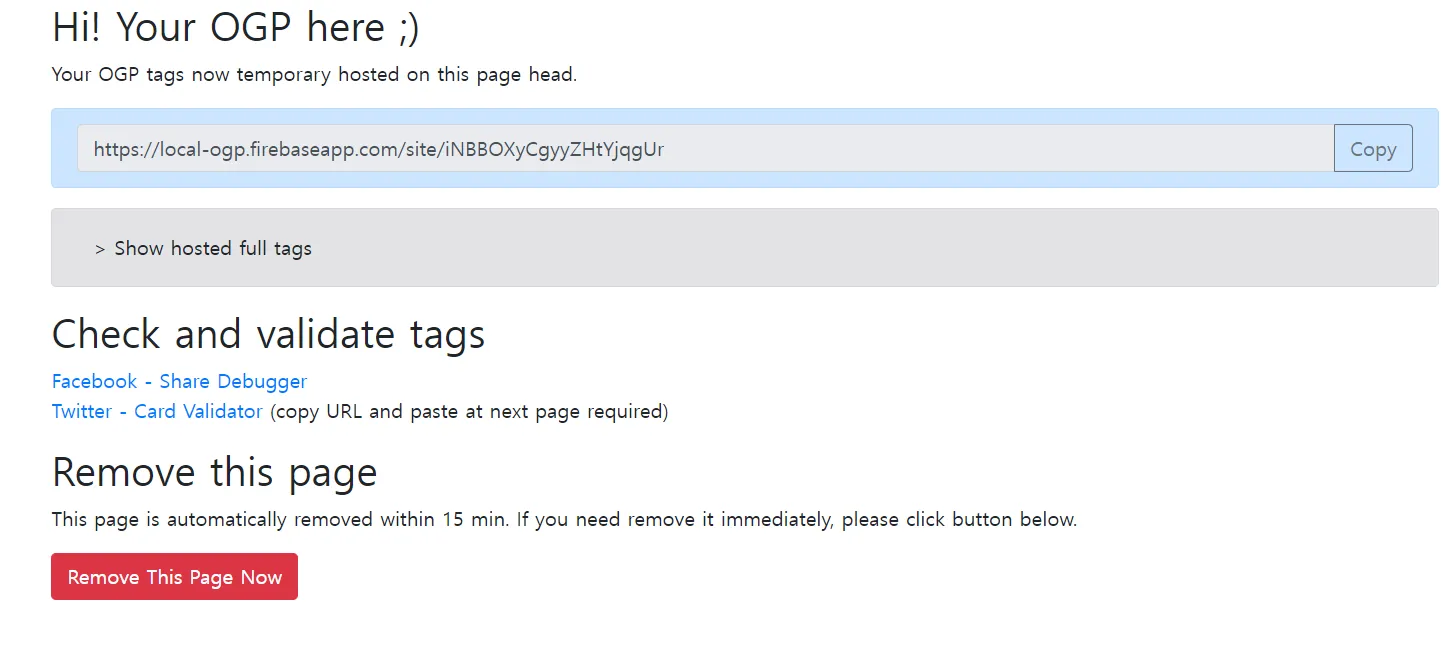
생성된 링크를 소셜 미디어 플랫폼에서 확인하면 끝입니다.

최종적으로 구성된 SEO 컴포넌트는 다음과 같습니다.
Seo.tsx
import React from 'react'
interface Props { title?: string description?: string siteUrl?: string}
const Seo = ({ title = 'jgjgill', description = 'jgjgill-blog', siteUrl = 'https://jgjgill-blog.netlify.app/',}: Props) => { return ( <> <title>{title}</title> <meta name="description" content={description} /> <meta name="keywords" content="development" /> <meta name="author" content="jgjgill" /> <meta property="og:type" content="website" /> <meta property="og:url" content={siteUrl} /> <meta property="og:title" content={title} /> <meta property="og:description" content={description} /> <meta property="og:site_name" content="jgjgill-blog" /> <meta property="og:locale" content="ko_KR" /> <meta property="og:image" content="https://raw.githubusercontent.com/jgjgill/blog/main/src/images/og-icon.png" /> <meta property="og:image:width" content="1200" /> <meta property="og:image:height" content="630" /> </> )}
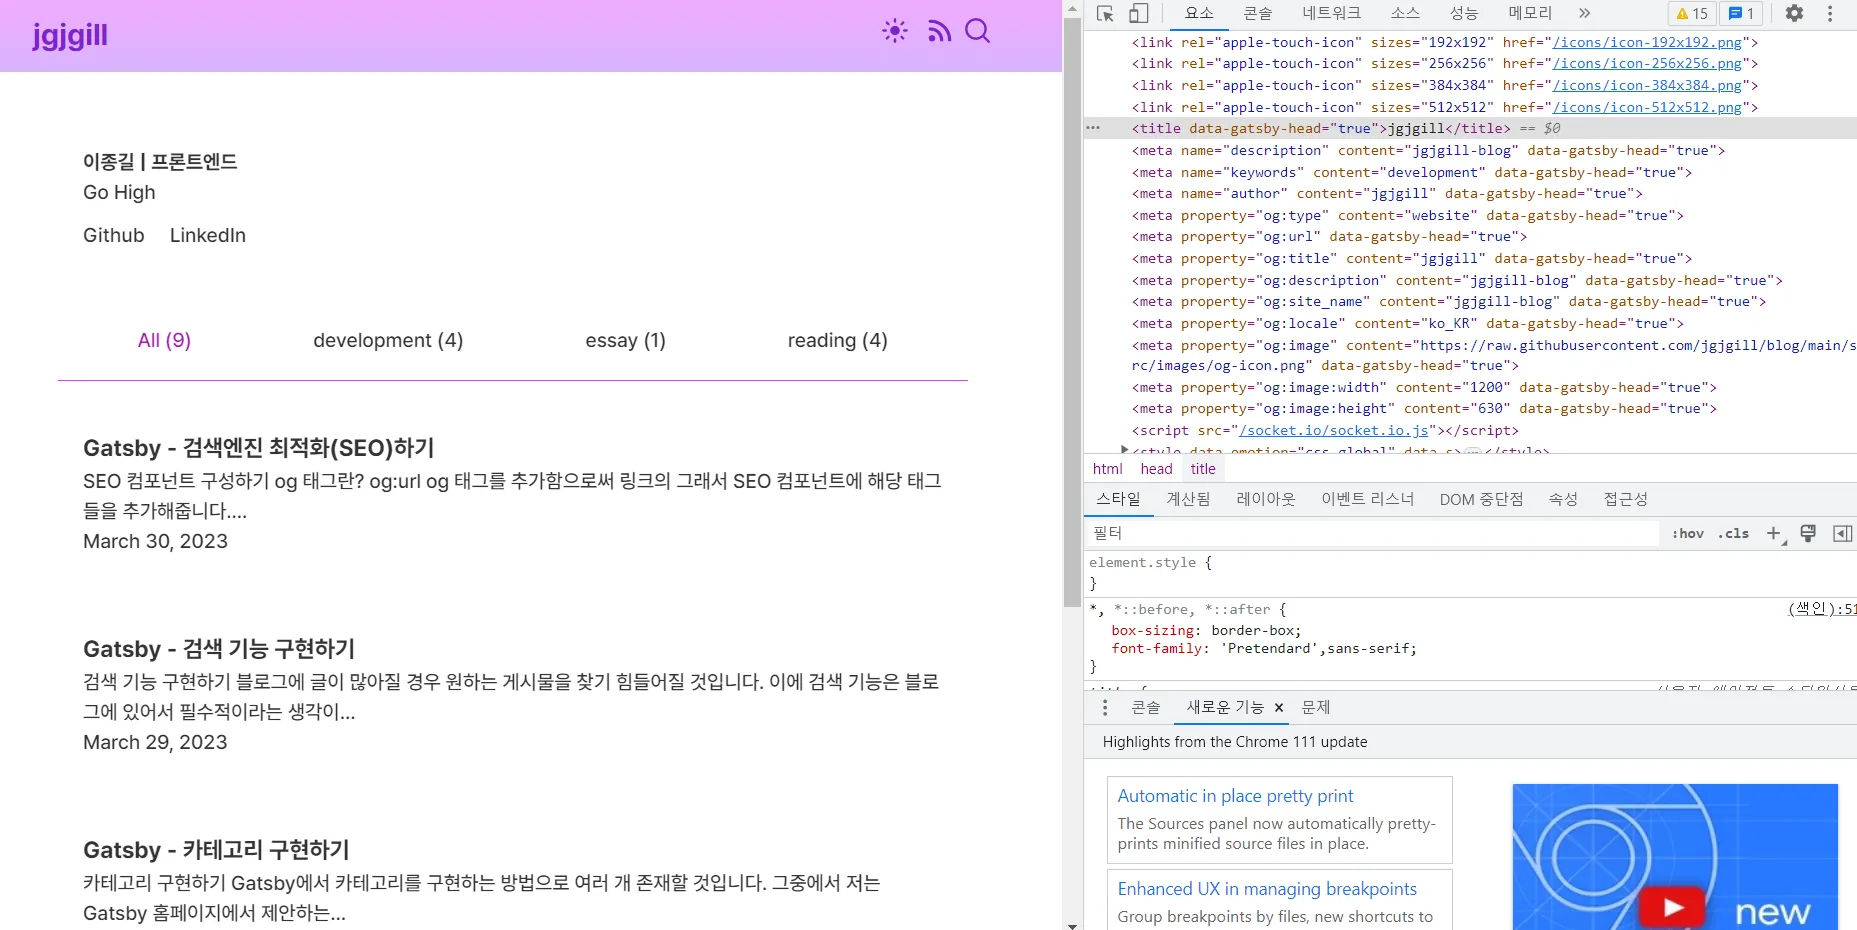
export default Seo이렇게 만들어진 SEO 컴포넌트는 페이지별로 Head에서 불러오면 됩니다.
import React from 'react'import { SEO } from 'components'
const ExamplePage = () => {  return <main>example</main>}
export default ExamplePage
export const Head: HeadFC = () => <Seo />
그러면 다음과 같이 Head 안에 관련 태그들이 생성되는 것을 확인하실 수 있습니다.
사이트맵 적용하기
사이트맵이란?
사이트맵은 사이트에 있는 페이지, 동영상 및 기타 파일과 관련된 정보를 제공하는 파일입니다. 사이트맵을 읽으면서 Google과 같은 검색엔진이 사이트를 더 효율적으로 크롤링할 수 있게 해줍니다. 그래서 사이트맵에는 내가 사이트에서 중요하다고 생각하는 페이지나 파일, 중요한 관련 정보를 제공할 필요가 있습니다.
gatsby-plugin-sitemap 설정하기
사이트맵의 필요성에 대해 이해했으니 사이트에 추가해 봅니다. 사이트맵과 관련해서도 Gastby에서는 편리한 플러그인이 존재합니다.😊
gatsby-plugin-sitemap 플러그인을 설치합니다.
yarn add gatsby-plugin-sitemapgatsby-config.ts에서 플러그인과 관련된 설정을 해줍니다.
플러그인만 추가해도 sitemap이 생성되지만 기본 설정으로는 sitemap에 <lastmod>가 추가되지 않습니다.
기본적으로 생성되는 <priority>와 <changefreq> 값은 구글이 무시하고 <lastmod>는 구글이 읽는다고 설명합니다.
그래서 커스터마이징 작업이 이루어지면 좋을 것 같습니다.
gatsby-config.ts
{  resolve: 'gatsby-plugin-sitemap',  options: {    query: `      {        site {          siteMetadata {            siteUrl          }        }        allMdx(sort: {frontmatter: {date: DESC}}) {          group(field: {frontmatter: {category: SELECT}}) {            fieldValue          }          nodes {            frontmatter {              slug              date            }          }        }      }    `,    resolveSiteUrl: () => `https://jgjgill-blog.netlify.app/`,    resolvePages: ({      allMdx: { nodes, group },    }: {      allMdx: {        nodes: { frontmatter: { date: string; slug: string } }[]        group: { fieldValue: string }[]      }    }) => {      const posts = nodes.map((node) => ({        path: `/blog/${node.frontmatter.slug}`,        lastmod: node.frontmatter.date,      }))
      const home = {        path: '/',        lastmod: posts[0].lastmod,      }
      const categories = group.map((node) => ({        path: `/category/${node.fieldValue}`,        lastmod: posts[posts.length - 1].lastmod,      }))
      return [...posts, ...categories, home]    },    serialize: ({ path, lastmod }: { path: string; lastmod: string }) => {      return {        url: path,        lastmod,        changefreq: 'daily',        priority: 0.7,      }    },  },},
query에서 데이터를 받고 만들어지는 페이지에 대해 각각 path 및 lastmod를 설정합니다.
이를 serialize 단계에서 추가해주시면 됩니다.
sitemap은 production 모드에서만 확인할 수 있습니다.
따라서 gatsby build & gatsby serve 명령어를 통해 sitemap이 public 폴더 내에 잘 생성되었는지 확인하면 됩니다.
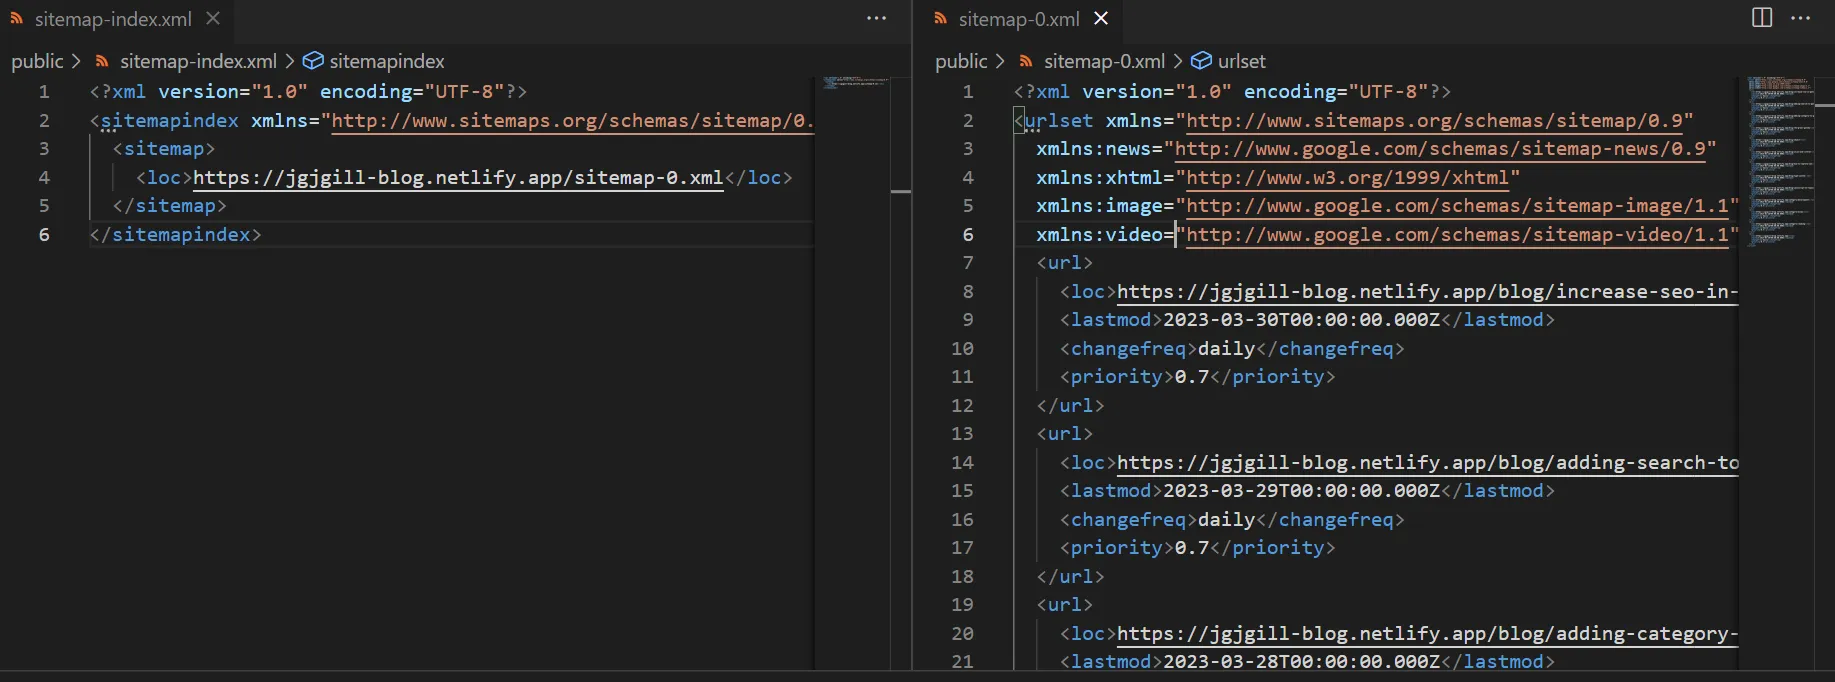
만들어진 sitemap을 Google Search Console에 추가까지 하면 끝입니다.
RSS 적용하기
RSS란?
RSS는 웹사이트의 컨텐츠를 나열해놓은 XML 파일입니다. RSS 피드를 통해 구독자들에게 업데이트된 정보를 쉽고 빠르게 확인할 수 있게 해줍니다.
그래서 뉴스나 블로그에서 주로 사용하는 컨텐츠 표현 방식으로 저에게도 해당되니 추가해 보겠습니다.😉
gatsby-plugin-feed 설정하기
gatsby-plugin-feed를 설치해줍니다.
yarn add gatsby-plugin-feed해당 플러그인만 적용하고 진행하면 에러가 발생하니 이번에도 커스터마이징 과정이 필요합니다.😂
customizing-the-rss-feed-plugin 공식 문서에도 설명이 되어 있으니 저의 프로젝트에 맞게 작업해 나가죠.
gatsby-node.js
exports.onCreateNode = ({ node, actions, getNode }) => { const { createNodeField } = actions if (node.internal.type === `Mdx`) { const value = createFilePath({ node, getNode }) createNodeField({ name: `slug`, node, value, }) }}name에는 URL이나 slug 같은 유니크한 값으로 지정해줍니다.
gatsby-config.ts
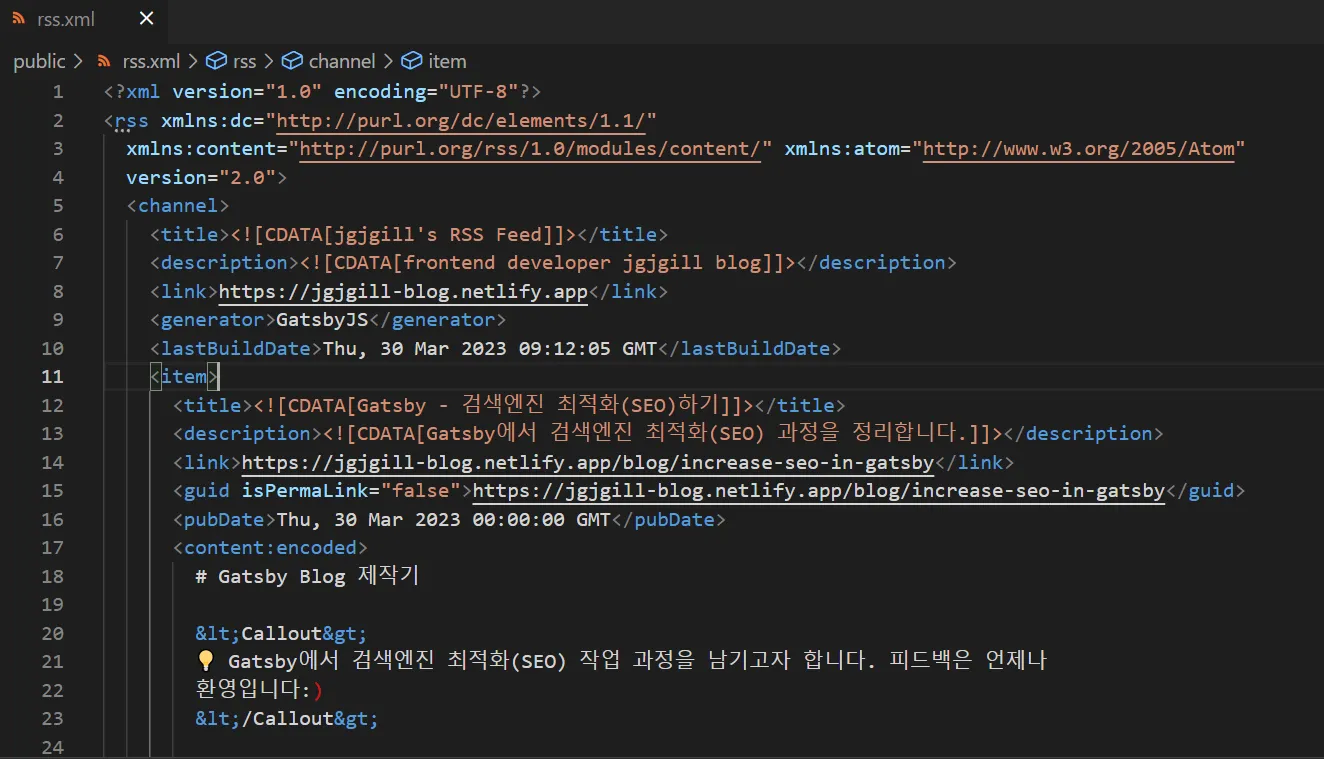
{ resolve: 'gatsby-plugin-feed', options: { query: ` { site { siteMetadata { title description siteUrl site_url: siteUrl } } }`, feeds: [ { serialize: ({ query: { site, allMdx } }: any) => { return allMdx.nodes.map((node: any) => { return Object.assign({}, node.frontmatter, { title: node.frontmatter.title, description: node.frontmatter.description, date: new Date(node.frontmatter.date), url: `${site.siteMetadata.siteUrl}/blog/${node.frontmatter.slug}`, guid: `${site.siteMetadata.siteUrl}/blog/${node.frontmatter.slug}`, custom_elements: [{ 'content:encoded': node.body }], }) }) }, query: ` { allMdx(sort: {frontmatter: {date: DESC}}) { nodes { frontmatter { title date description slug } body } } } `, output: '/rss.xml', title: "jgjgill's RSS Feed", }, ], },},serialize에는 자신의 프로젝트에 맞게 변경해주시고 output에는 RSS 피드에 대한 경로, title에는 RSS 피드의 이름이 정해집니다.
sitemap과 동일하게 rss도 build시에만 확인 할 수 있으니 gatsby build & gatsby serve명령어를 통해 확인하면 됩니다.
robots.txt 적용하기
robots.txt란?
robots.txt 파일은 크롤러가 사이트에서 접근할 수 있는 URL을 검색엔진 크롤러에게 알려줍니다.
또한, 검색엔진 크롤러에게 사이트맵의 위치를 제공하여 웹사이트의 콘텐츠가 검색엔진에 더 잘 발견될 수 있도록 합니다.
gatsby-plugin-robots-txt 설정하기
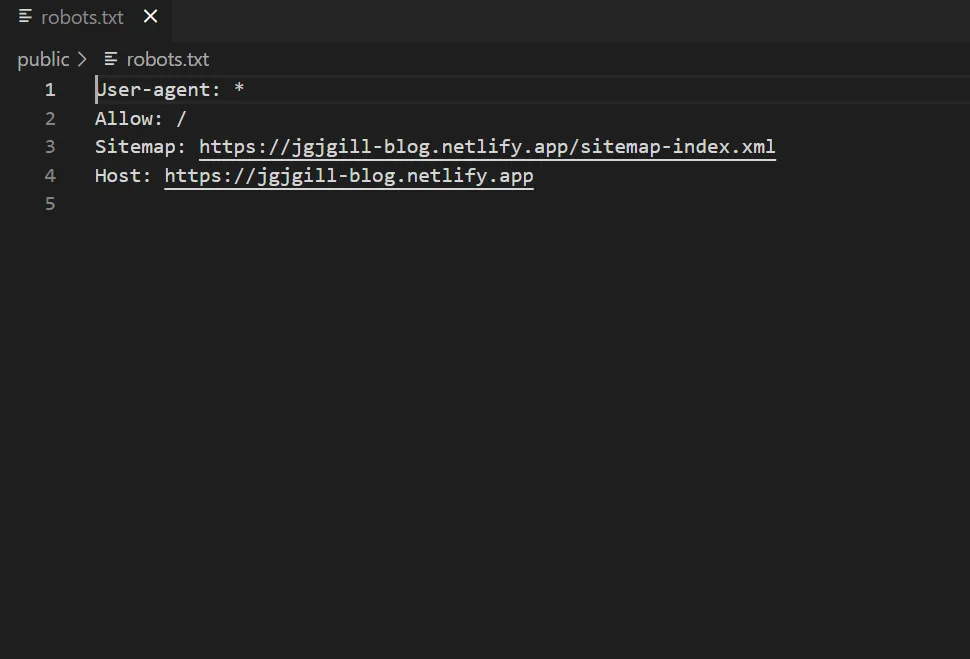
{ resolve: 'gatsby-plugin-robots-txt', options: { host: 'https://jgjgill-blog.netlify.app/', sitemap: 'https://jgjgill-blog.netlify.app/sitemap-index.xml', policy: [{ userAgent: '*', allow: '/' }], },},gatsby build 이후 robots.txt 파일이 생성되었는지 확인합니다.
마무리
Gastby에서 SEO를 높이기 위한 다양한 방법들을 알아봤습니다. gatsby의 특성과 여러 플러그인을 통해 SEO를 직접적으로 경험해볼 수 있었습니다. 저의 블로그의 컨텐츠가 많아지면서 어서 빨리 상위에 노출되었으면 하네요.😄
이번 글을 통해 Gatsby에서 SEO 작업을 하시는 분들에게 도움이 되었으면 합니다.🙇♂️